Showing posts with label 65 Vespa. Show all posts

Friday, July 27, 2012

Perfect evening for the first Roll-out


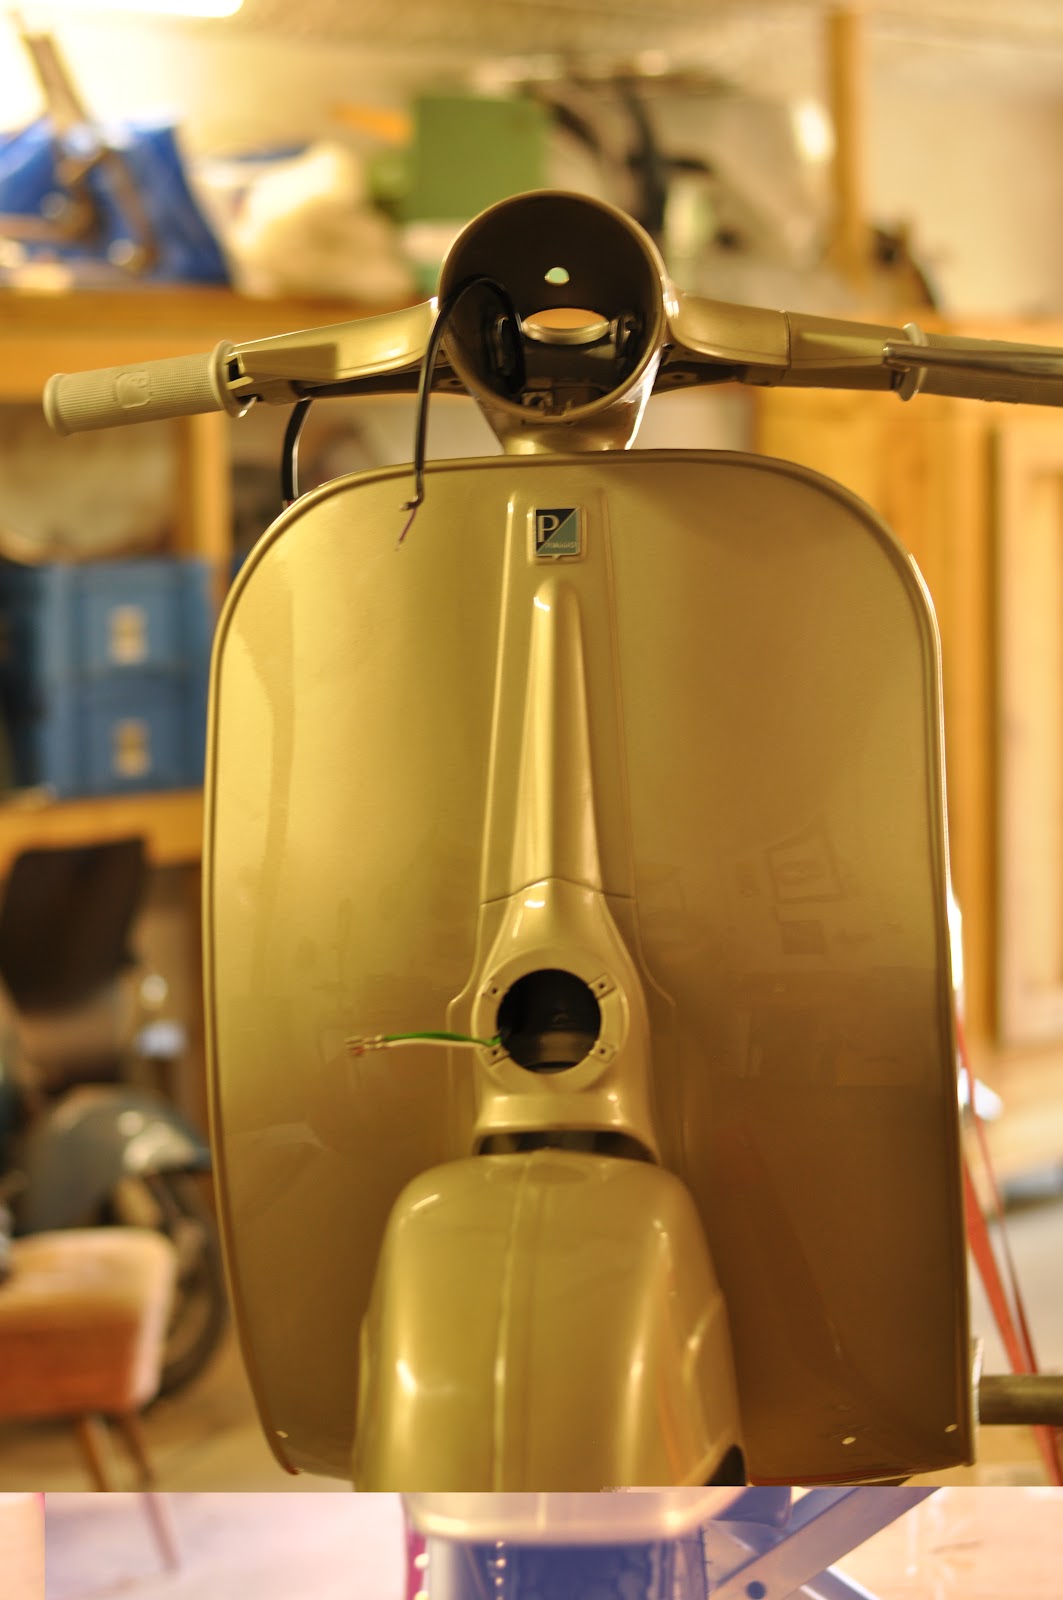
Sometimes, your eyes need more distance to the Objects
 than the space off your work shop allows you.
Than you can see the real beauty, that your imagination
would never be able to create.
Wasn´t so happy like now for a long long time.


The entire neighborhood showed up for that event!


Thursday, July 26, 2012

Next in row

After the bike is gone there is plenty of space in the workshop again and the lift is unoccupied.
Best chance to put the 65`Vespa there and make some progress finally.


Every corner is packed with that little scooter shit now....

Thursday, February 2, 2012

Italian Wedding

Engine and Cables are in the '65


Saturday, December 10, 2011

Some more pics from the Vespa Project

The way she looked, when we got her in Juni 2010
Standing outside since 2000 under a tree in a bush behind a mobile home.
Just in the moment when the mobile home goes to the junk yard, 
I was passing with my car by. Half an hour later I was owner of a pretty 
fucked up italian piece of trash....


Later that day, after some cleaning with the high-pressure cleaner
and mounting the other seat I got with it, it looked already a bit neat.


Wednesday, August 24, 2011

New Pics NOW!!!


Starts to look like something you can have fun with.....
Little mistakes will be wet grinded 
and polished away,then the assembling starts.

Sunday, August 21, 2011

One of a dozen small steps

Long time no post, but good progress on the Vespa 
and the work shop is getting closer to the finish.


After Micha Primer-coated and added test black colour we grinded everything smooth
and prepared it for the finish.


Next pics this evening, when the paint is finished!


Monday, August 1, 2011

Friday, July 22, 2011

Step 4 -> DONE!


Starts to look good again! Step 5 starts on Monday with the pre work for the paint.

Wednesday, July 20, 2011

A dozen small steps


Step 1
Strip as much as possible paint with thinner down.
Less work for the Sandblaster, less money to pay and less heat on the Iron during the blasting!


Step 2
Sandblasting


Step 3
Welding the holes and smoothening the dents


Poorly took not realy good pics from the welded body.

Step 4

Again Sandblasting and then it get´s primed.
Should be finished in 14 days, then it wents strictly to the painter.